Do You Even Keeb, Bro?
Well, I finally did it. After three and a half years typing on a spectacularly hacky makeshift split keyboard, I decided to build one for real. For your entertainment, here’s what I was using before, I’ve been calling it Frankenstein:

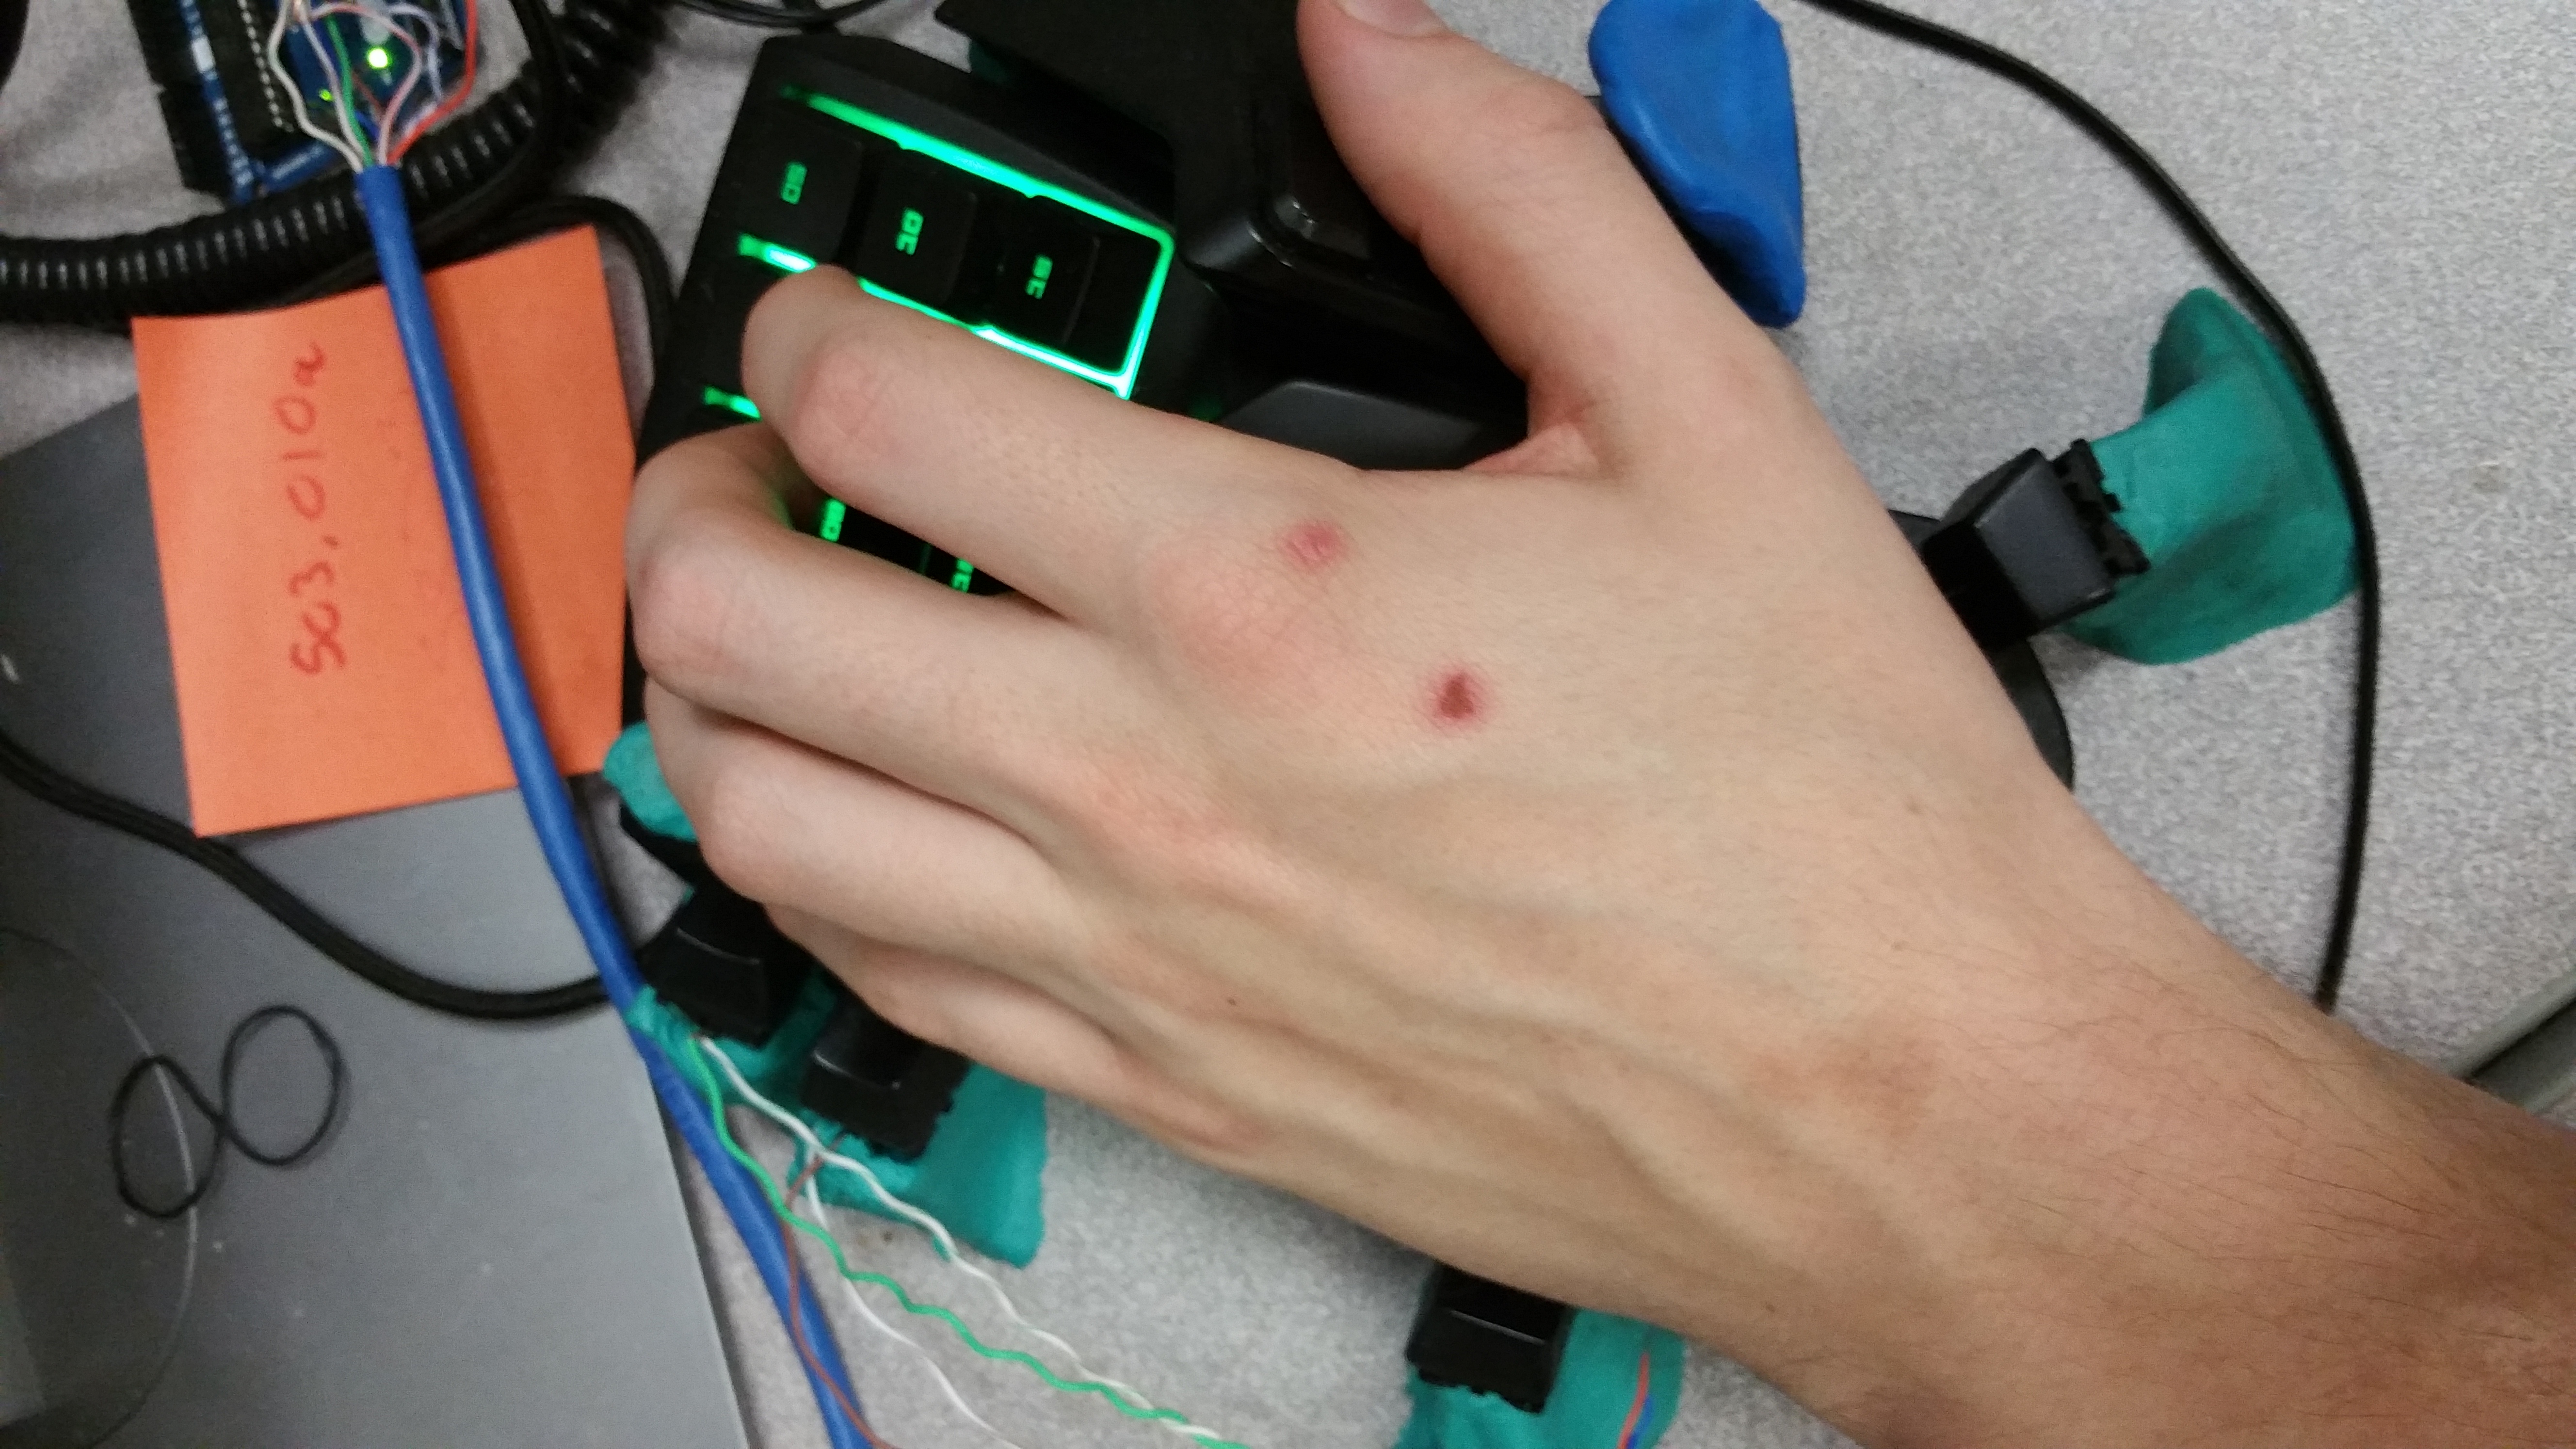

It’s really 3 keyboards: a razer tartarus, a full size dell, and an arduino running some switches embedded into Crayola clay, all Frankensteined together into the majestic device you see before you. I was having some RSI issues and just wanted to split up my hands to make things more comfortable, and just plugging in two full size keyboards happened to be the cheapest solution. Yeah, economy of scale is weird. Then I was tired of torquing my pinkey every time I hit shift, enter, control, and all those other ill-placed pinkey keys that tend to be some of the most used for a programmer. So I decided to add some keys on my thumb, as well as modifiers at the wrists to just bump left or right, leaving all fingers open for typing. Finally, I replaced the left full-sized keyboard with that tartarus I already had laying around (the tartarus really is very ergonomic, and I’m holding my breath for the matching right hand /suffocates/). I then used xkb to remap all sorts of keys, putting numbers on the home row when a modifier is pressed, and all the symbols there as well when a second modifier was pressed. The result of all of this was undoubtedly more comfortable, and incomparably ugly. It was high time I built something a little more elegant.

The Iris solves almost all of these problems, but much more neatly I think. The Iris is really just a loose collection of open-source designs for two PCBs, a case, and a branch of the qmk keyboard firmware framework, the rest is up to you. This makes everything uber customizable. I found a kit for the PCbs and diodes at keeb.io. I then bought a bunch of multi-color leds for backlighting, a pile of cherry mx blues, and a custom set of keycaps from some odd chinese seller I found on Amazon. You can cut your own case if you like, but after looking at cost, even having access to a laser cutter at my local makerspace, just buying the aluminum case was cheaper. Everything is then controlled by two of the beloved pro-micros. The key placement I think is pretty great, and QMK is itself massively customizable, remapping keys is really no big deal once you set up your own config. Remapping keys on the board rather than translating on the host definitely has its benefits. I will surely make more modifications, probably some custom keycaps get something like the bumping feature I had on frankenstein. Updates to come…